The brake caliper is a crucial part of a vehicle’s brake system, and it’s important to know how to compress them. It’ll help keep your calipers in good condition for more runs without any major service.
Some parts of a vehicle can wear out quickly, and the brake pads are one of them. Once you get to the stage where the brake pads have worn off, it is time to get them replaced with new ones.
Be sure to compress the brake caliper before adding new brake pads to your vehicle, and don’t worry; it’s a straightforward process as long as you’re following the right steps. In this article, we’ll discuss how to do it easily with and without a compressor tool.

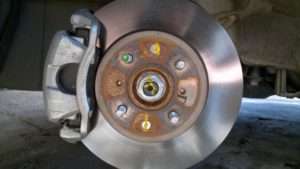
https://commons.wikimedia.org/wiki/File:Brake_caliper_honda_jazz.jpg
Jump to
- 1 What Should You Know About the Brake Calipers?
- 2 Easy Steps To Compress Front/Rear Brake Calipers
- 3 Compressing Front/Rear Brake Calipers Using Channel Locks
- 4 How To Replace Brake Pads
- 5 How To Compress a Caliper Piston Without a Compressor Tool
- 6 How Does the Brake Caliper Piston Work?
- 7 FAQs
- 8 Final Words
What Should You Know About the Brake Calipers?
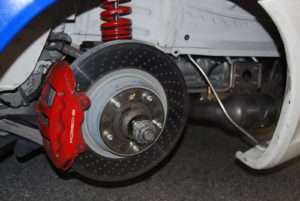
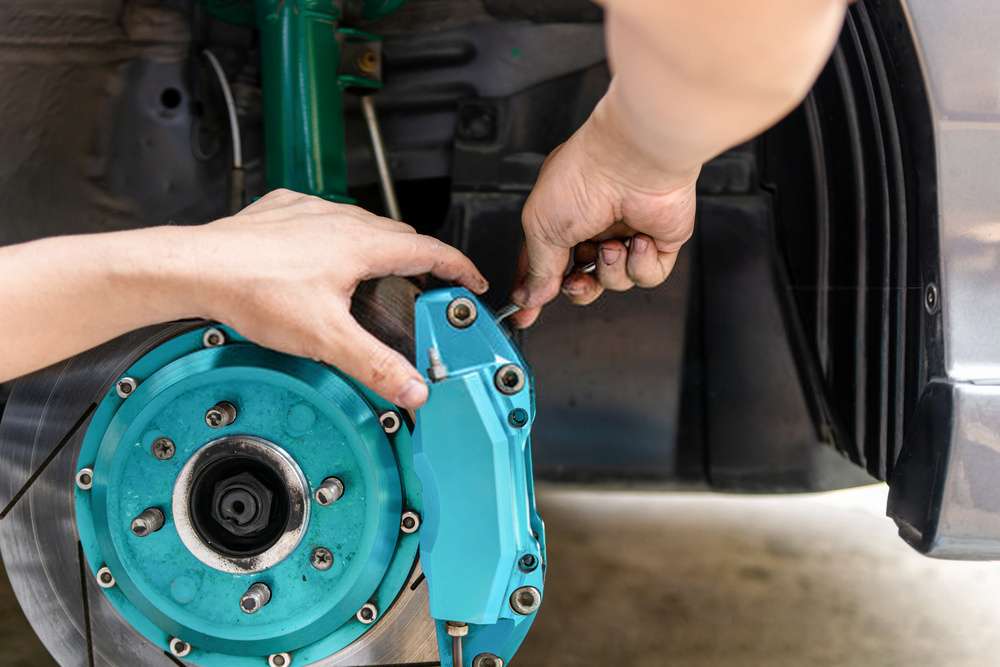
Brake calipers are the mechanical actuating part that regulates and puts a stop to the vehicles that you drive. The reason why they are referred to as calipers is because of their similarity to the measuring caliper.
To make braking maneuvers, two pistons within these devices come into contact with brake pads inside to compress them to generate friction that will stop a moving vehicle.
Easy Steps To Compress Front/Rear Brake Calipers
Here’s a list of steps you should take to take care of the brake calipers’ compression without a hassle.
Step 1: Take Out The Wheels
The first thing you should do is take out the wheels from under your car. You can do this easily with a pry bar or a jack.
Step 2: Put a Wedge In
After taking out the wheel, put a wedge under the car. This will help in pushing up the suspension of your vehicle.
Step 3: Compress Brake Calipers
For this step, apply pressure to one side of the caliper by using a compressor tool or an air wrench attached to your air hose. The pressure should be maintained at the same level until you hear a clicking sound. When you do, remove the tool.
Step 4: Remove Calipers
After compressing the caliper, remove it from your vehicle by pulling it out of its position. Make sure to keep working on one side of the car to avoid any slippage from the suspension.
Step 5: Add New Brake Pads
Before pushing the new brake pads into position, you should remove one of your old ones. This will help you realize if a brake pad is defective or not.
Step 6: Push Out the Caliper
Next, you’ll need to push the caliper back into its original position. Remember to use the compressor tool for this step to ensure that you are not applying too much pressure and risk damaging your car.
Step 7: Close Calipers
Once you have installed the brake pads, it is time to close the calipers; make sure that all parts are in the right positions.
Step 8: Install The Wheel
The final step is to put the wheel back and tighten it up with a car jack or pry bar. You can now start by inflating your tires.
Related Article – How to Compress a Brake Caliper
Compressing Front/Rear Brake Calipers Using Channel Locks

Here’s a list of steps that you can use to compress the brake calipers using channel locks.
- Make sure you have enough room to work on your vehicle’s brake calipers.
- Get the car in a safe parking spot and then disconnect one of the hoses from the wheel well using a wrench.
- Inflate the tire on that side of your vehicle for about four inches so that you can slide the wheel off easily.
- Use a pry bar or jack to lift your vehicle to have more room for working on it.
- Remove the screws from both sides of the calipers and place them and their clips safely in a container.
- Now use the channel locks to compress your calipers.
- Push the brake pads out of their clips, and put them in a safe place where they won’t get lost.
- Put new brake pads on both sides of your car, and ensure that everything is working properly before putting your wheel back on.
How To Replace Brake Pads
Here are the steps you need to follow to replace old brake pads on your own.
Step 1: Remove The Wheels
Take a jack and remove the wheel that covers the caliper from your vehicle by using it as a lever or wrench.
Step 2: Put a Wedge In
Using a screwdriver to put a wedge under the suspension so that it lifts one side of the car and keeps it from slipping away.
Step 3: Remove Old Pads
Take out the old brake pad by removing caliper bolts, springs, and screws from the old calipers.
Step 4: Install a New Brake Pad
Use your wrench to pile up the new pad while attaching it to the pistons you took out of the old calipers.
Step 5: Put the Wheel Back
Use your jack to put back the wheel while using a wrench or screwdriver to tighten it up. The next step is to inflate the tires so that they are no longer loose, after which you can turn on the engine.
You are now set to drive your vehicle without any worry.
How To Compress a Caliper Piston Without a Compressor Tool
If you don’t have a compressor tool, use a pair of vise grips to compress a caliper. Put the vise grips over the protruding brake piston, then put your weight on it. It’s not the best solution, but a lot better than doing nothing in an emergency like a flat tire.

You can also use vice-grip style pliers to close brake calipers if you have no other option. You need to be careful, though; the vise-grips or pliers could slip off and damage the brake caliper, wheel hub, rotor, or drum.
Keep in mind that in many vehicles, rear brake calipers behave differently from the front ones. So, you’ll need to use a different approach while dealing with rear brakes.
While the c-clamp is suitable for the front calipers, you can’t use the same tool for rear brake caliper pistons. In order to compress the rear caliper piston effectively, take a screwdriver or a pair of pliers and twist the piston clockwise. Keep doing it until it goes completely into the housing so that you can change the brake pads easily.
How Does the Brake Caliper Piston Work?
The brake caliper piston is a plunger that moves outward to press the brake pads against the inside of your car’s wheel with the help of brake fluid.
The way it works is that hydraulic pressure is put on one side of the piston through a cylinder for the other side to come out and strike against the whole assembly holding up the pad. The speed at which the pads come together is determined by a combination of pedal pressure and hydraulic pressure.
FAQs
1. What can you use to compress brake calipers?
You should use channel locks or C-clamp to compress your caliper and ensure that you are using a clean rag to keep it protected. For rear calipers, take a screwdriver or a pair of pliers to compress them safely.
2. What tools are required to replace brake pads?
You need a c-clamp or channel lock to compress your calipers while another person unscrews screws and bolts from existing calipers. In addition, you should also have a screwdriver to take out old pads while attaching the new ones by using a wrench.
3. How much time does it take to replace brake calipers?
It takes an average of 20 minutes to replace your brake calipers if you follow the steps carefully.
Final Words
The brakes are probably the most important safety elements your vehicle has. Therefore, you must know how to take good care of them.
Compressing your car’s brake calipers can help you achieve this and ensure that they are working effectively at all times. You should always be on the lookout for signs of defects and have them corrected on time, and a compressed brake caliper is a sign that your brakes are in good shape!
Be sure to share this article with your friends and family, and don’t hesitate to contact us at info@vehicletreat.com if you have additional questions.
Safe Driving!

My name is Tom Harris, founder of this blog. I’m a mechanical engineer with 20 years of experience in the automotive industry. I’m here to help you with your vehicle’s problems, easy fixes and share my insights and experience so that you can enjoy your rides more.

