In this article, we’ll teach you how to change brake pads and rotors on a Chevy Silverado. This is not too difficult of a task to complete yourself with the right tools and know-how. Whether it be to save money or just due to convenience, there are many reasons why you should consider changing your brakes.
Learning to fix your car is one of the most valuable skills you can have as a driver. When you’re out on the open road, you never know when something might go wrong. Car maintenance isn’t always easy, but it doesn’t have to be hard either.
While this task is not usually difficult, it can be intimidating if you’ve never done it before. To avoid problems down the road, make sure that you change your brake pads in Chevy Silverado as soon as you notice abnormal wear on the rotor. The process is not expensive or time-consuming and can save you money in the long run.
Check out this article for an in-depth guide on how to change brake pads and rotors on a Chevy Silverado.
In this guide, we’ll cover everything you need to know about changing the brake pads and rotors on a Chevrolet Silverado. This includes both the classic 4×2 and newer 4×4 models, including the new Silverado 1500. The principles are the same for both models. It is important to note that changing your brake pads yourself will save you money — most service shops charge $400+ for this job.
The brakes on your vehicle are crucial for maintaining control and stopping. However, the brake pads and rotors can wear out over time, which will cause them to be less effective in slowing or stopping your car. It’s important to change these parts so that you’re not risking an accident every time you have to stop quickly.
This article will go over how to change the brake pads and rotors on a Chevy Silverado. This is not a difficult task at all with some help from our step-by-step guide! We hope it helps make things easier for you too.
Jump to
- 1 Common Signs That Indicate You Need New Brakes
- 2 Tools you need to change Brake Pads and Rotors on a Chevy Silverado
- 3 Changing your Chevy Silverado’s Brake Pads and Rotors
- 3.1 Step 1: Park Vehicle in Safe Spot
- 3.2 Step 2: Jack up the Car
- 3.3 Step 3: Loosen the lug nuts
- 3.4 Step 4: Remove the wheel and tire
- 3.5 Step 5: Remove the caliper
- 3.6 Step 6: Extract brakes from the caliper
- 3.7 Step 7: Clean the Rotors Area
- 3.8 Step 8: Compress the caliper
- 3.9 Step 9: Install the new pads and rotors
- 3.10 Step 10: Fix Wheel back and tight the nuts
- 4 The lifetime of Chevy Silverado Brake Pads and Rotors
- 5 Tips to get the most out of your brake pads and rotors
- 6 FAQ’s
Common Signs That Indicate You Need New Brakes
It’s important to change your brake pads and rotors when you start noticing that they are causing problems. You’ll be able to tell if you need a new set of breaks by looking out for the following five signs:
1: Warning light on the dashboard
When the Warning light on the dashboard flashes or stays on. This is an indication that your rotors are either too hot or worn down, and you should have them inspected immediately.
2: Pulling/jerking when slowing down
When your vehicle’s wheels lock up or skid when you are trying to stop. This might be due to worn brake pads and/or rotors.
3: Squealing/grinding noise when stopping
When you hear a squeaking or grinding sound while you are driving, this can mean that your brakes are worn down.
4: Worn down brake pads and rotors
Check the thickness of your pads and inspect the rotors for rust and grooves. If you see that they are worn down, it’s time to replace them.
5: Vibrations in the steering wheel
You’ll know that your rotors are beyond repair when your steering wheel starts to vibrate or pulsate while you’re driving, and it becomes difficult to steer.
Tools you need to change Brake Pads and Rotors on a Chevy Silverado
Here are a few tools you will need:
- Jack
- Lug wrench
- Socket wrench set with 19mm socket and Crescent wrench.
- Screwdriver
- Spray Cleaner (Optional)
- C-Clamp or 2×4 for compressing the caliper piston
- Shop towel to dry off the underside of your car (Optional)
- Car Wash Brush (Optional)
Changing your Chevy Silverado’s Brake Pads and Rotors
The brakes are one of the most important components of your vehicle. If they’re not working properly, you could be putting yourself and others at risk every time you drive. To make sure that your brakes are operating correctly, it’s important to regularly inspect and replace them. Understanding how to inspect and change your Chevy Silverado brake pads is crucial for safe driving and avoiding costly repairs.
Here is a step-by-step guide on how to change brake pads and rotors on a Chevy Silverado. This is not difficult as long as you have the proper tools for disassembly and reassembly, so let’s get started.
Step 1: Park Vehicle in Safe Spot
First of all, make sure that your vehicle is parked safely on level ground. Make sure that your parking brake is engaged (this is very important). Also, make sure that there are no objects or obstacles in the area where you’ll be working. Keep children and pets at a safe distance from the car (you don’t want them under your vehicle’s tires).
Step 2: Jack up the Car
It’s important not to work under your car when it’s not supported
Park your car on a flat surface, and raise the back of the vehicle using a jack. Once it’s at least 1 foot off from the ground, you can move on to Step 4.
If you’re working on a Chevy Silverado, you’ll need to use block the rear wheels. Use jack stands and blocks to ensure that the vehicle doesn’t move while you are working under it.
Step 3: Loosen the lug nuts
Once your Chevy Silverado is safely secured in place, the next step is to loosen the lug nuts on your tires. Remove them using a wrench and set them aside for later use. If your vehicle has hubcaps then remove the hubcap from your Chevy Silverado.
Step 4: Remove the wheel and tire
After you remove the lug nuts on each wheel, take a look at your tires. Use a jack that is just tall enough to get the tire off of the ground, and then place its edge underneath the car, right behind where your tire meets the wheel. Lift it slightly and carefully roll your car forward until the tire clears the wheel. Then remove the lug nuts from that side as well.
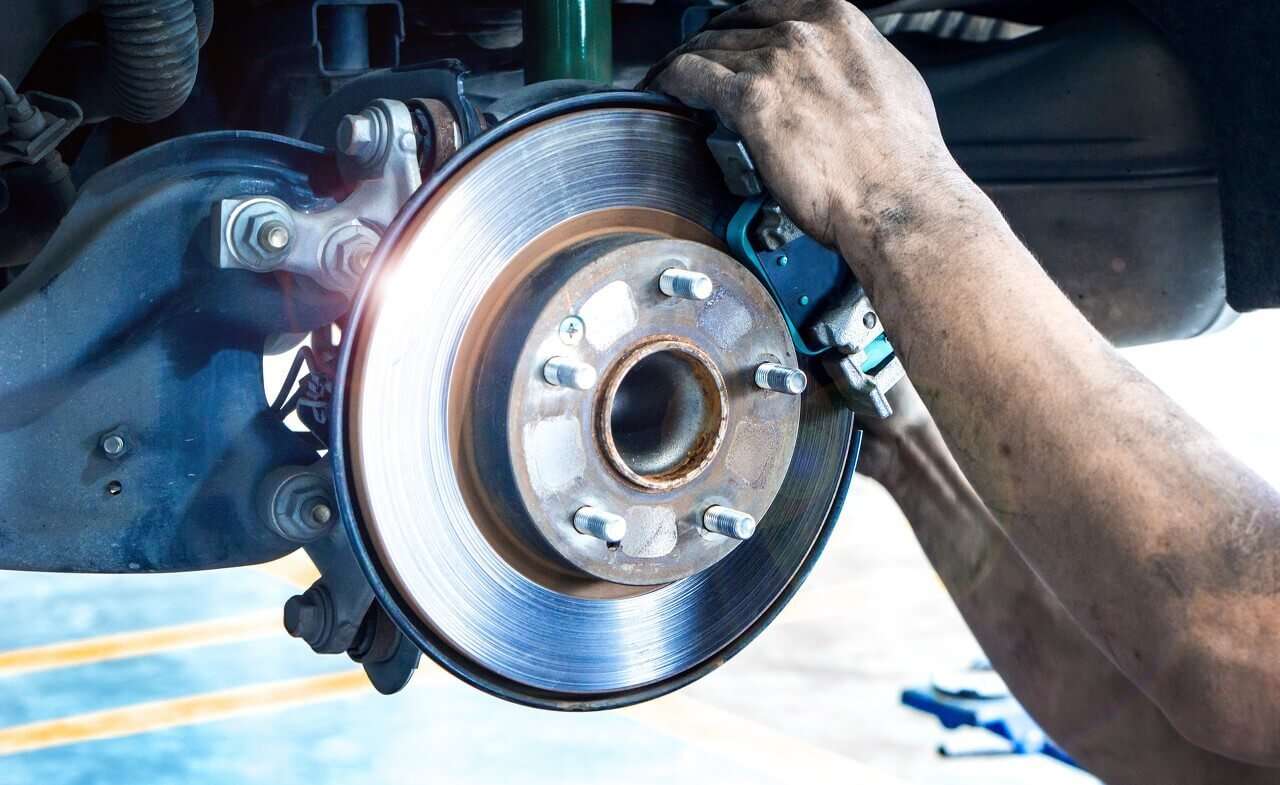
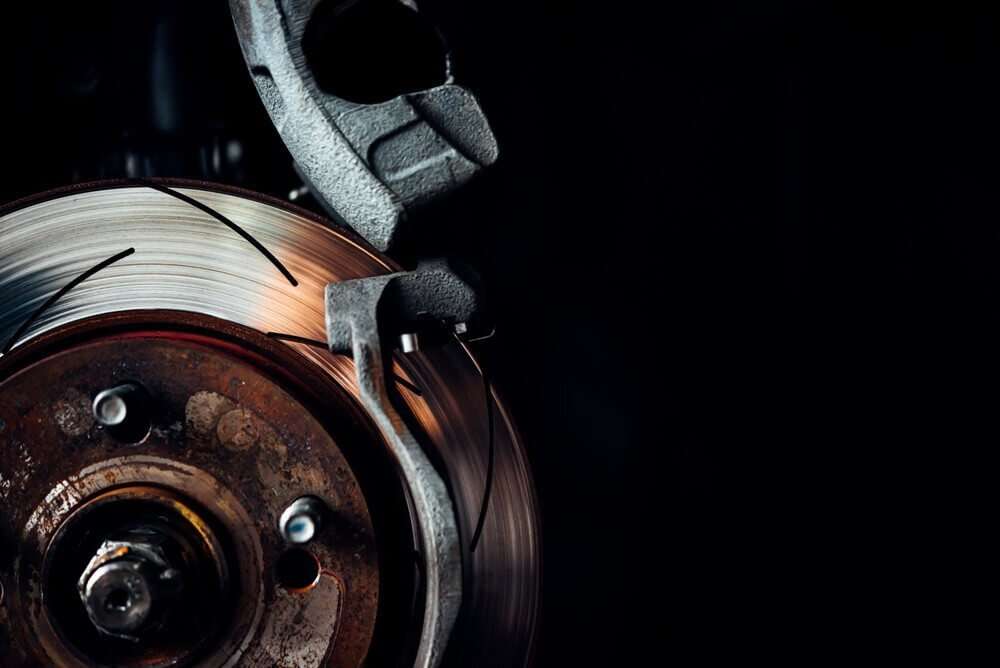
Step 5: Remove the caliper
When the wheel and tires are removed, you’ll be able to see the caliper. It’ll look like a big metal bracket that’s attached near your wheel. Use a 19mm socket and wrench to remove it. Then use a flat head screwdriver (to pry the piston) to separate your brake pads from the caliper.
Step 6: Extract brakes from the caliper
Once your caliper is removed, you should be able to see the old brake pad and rotor. Use a 19mm socket and socket wrench to extract it.
If your Chevy Silverado is using hydraulic brakes, then you’ll need to use a crescent wrench to turn the piston in the caliper. You should be able to see a big metal rod with an end connected to the piston. That’s what you’ll use to turn your piston to pull out the pistons.
Step 7: Clean the Rotors Area
Now you need to clean out all of the grease and dirt from under your car, as well as from the old caliper. Use a spray cleaner and clean out the area very well, removing all of the dirt and grease from your Chevy Silverado rotors. The most effective tool for cleaning your underside is a car wash brush in many cases.
Step 8: Compress the caliper
Once you have cleaned out all of the dirt and grease, it’s time to compress the caliper bracket again. Use a C-Clamp to put pressure on the piston. This will make it easy to install the new brake pad and rotor onto your caliper.
Step 9: Install the new pads and rotors
Before installing the new pads and rotors, make sure that you soak them both in soapy water. This will help clean out all of the grime from both parts and allow your new rotors to slide easily into place.
The pads and rotor will be very difficult to install. Use a screwdriver to put pressure on the piston while you slide the new brake pad into place. Once it is installed, use your socket wrench to tighten up the caliper bracket and connect it with the lug nuts.
Once you have installed your new brake pads and rotors, use a screwdriver to pry the piston back into place.
Step 10: Fix Wheel back and tight the nuts
Finally, we can proceed to fix the wheel back and tighten the lug nuts on your new Chevy Silverado. Don’t forget to put any hubcaps back into place before you drive off.
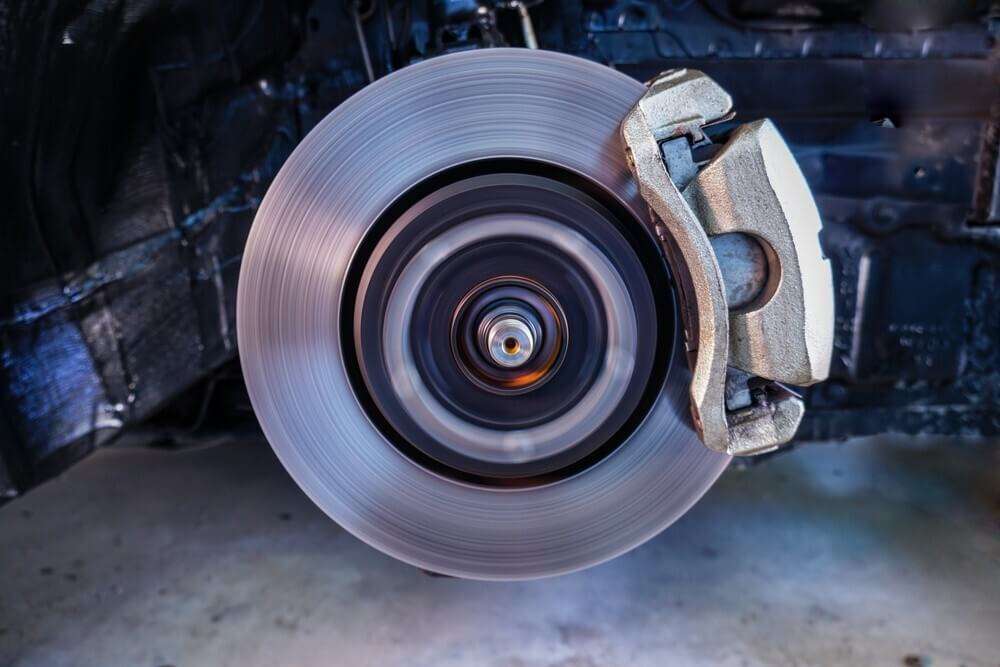
After that, it’s ready for a test ride to check how well your new brake pads work out.
Also Read: Chevy Silverado Transfer Case Problems
The lifetime of Chevy Silverado Brake Pads and Rotors
The lifetime of brake pads and rotors depends on various factors. The main factor is the way you do your brakes. Like driving performance, braking is an integral part of vehicle safety.
Generally, brakes are designed to last for 50,000 to 80,000 miles. However, they can go up to 120,000 miles in some extreme cases! Again, it all depends on how you use your vehicle.
Rotors are designed to last about as long as brake pads do. Driving style and road conditions are the two main factors that affect their lifetime. In general, you only need to replace your rotors if you notice that there are some serious cracks in them.
Secondary factors include the type of vehicle. If you have a pickup truck or van, then you’ll probably need to replace your rotors and brake pads more often. That’s because they are more likely to sustain heavy damage due to frequent off-roading.
Tips to get the most out of your brake pads and rotors
- Do not get too carried away during braking. If you have a heavy onboard load, then brake gently to avoid over-heating your brakes.
- Maintain the condition of your brakes by checking for signs of wear: grinding, squealing, and other strange sounds. These are signs that your brakes need to be replaced.
- Make sure that the brake hose is not leaking any fluid by checking it once in a while.
- Check your brake fluid level once in a while after driving for an extended period. Add brake fluid if needed.
- Use the parking brake to secure the vehicle when it is parked for a long period.
- Keep your tires well inflated to improve braking performance and reduce wear on the brakes. Under-inflation increases brake temperature, which causes faster brake wear and more brake noise.
FAQ’s
1. How much does it cost to replace rotors on a Chevy Silverado?
Most Chevrolet vehicles require brake pads and rotors to be replaced every so often but the cost of doing so can greatly vary. New brakes on a Chevy usually range from around $150-$450 per axle, while replacing all four rotors at once could set you back anything between $300 -$750 including labor and parts.
2. Can you replace brake pads and rotors by yourself?
Save money and time with DIY brake maintenance. Replacing your own pads and rotors is an increasingly popular do-it-yourself project, easily accomplished by anyone armed with the right tools. In just a few hours you can have refreshed brakes without breaking the bank.
3. What tools do I need to change brake pads on Chevy Silverado?
- Safety Glasses.
- Dust Mask.
- Wrenches.
- Allen Wrenches, Hex Keys, Torx and Allen Sockets.
- Ratchet and Socket Set.
- Screwdriver Set.
- Jack and Jack Stands.
- Lug Wrench
Non-essential but helpful tools.
Brake caliper spreader tool
Torque Wrench
Nitrile gloves
4. How many hours does it take to change brakes and rotors?
Replacing brake pads and rotors is no easy task even for a certified automotive technician. It could take up to an hour or more, whereas someone without experience will face much longer hours of work in order to successfully complete the job.
Conclusion
Replacing the brake pads and rotors on your vehicle is an easy process. It doesn’t require a lot of knowledge or tools. You need to follow this instruction step-by-step and take your time while doing it. By keeping these things in mind, anyone can fix their own Chevy Silverado brakes with minor difficulties.
After reading this article, we hope you came to know more about How to Replace Chevy Silverado Brake Pads and Rotors, if you want to add more information, please comment in the below section. We will highly appreciate your feedback, and we’ll get back to you as soon as possible.
Thank You for Reading… Enjoy Your Vehicle.

My name is Tom Harris, founder of this blog. I’m a mechanical engineer with 20 years of experience in the automotive industry. I’m here to help you with your vehicle’s problems, easy fixes and share my insights and experience so that you can enjoy your rides more.